Building a Coffee Can Survival Kit
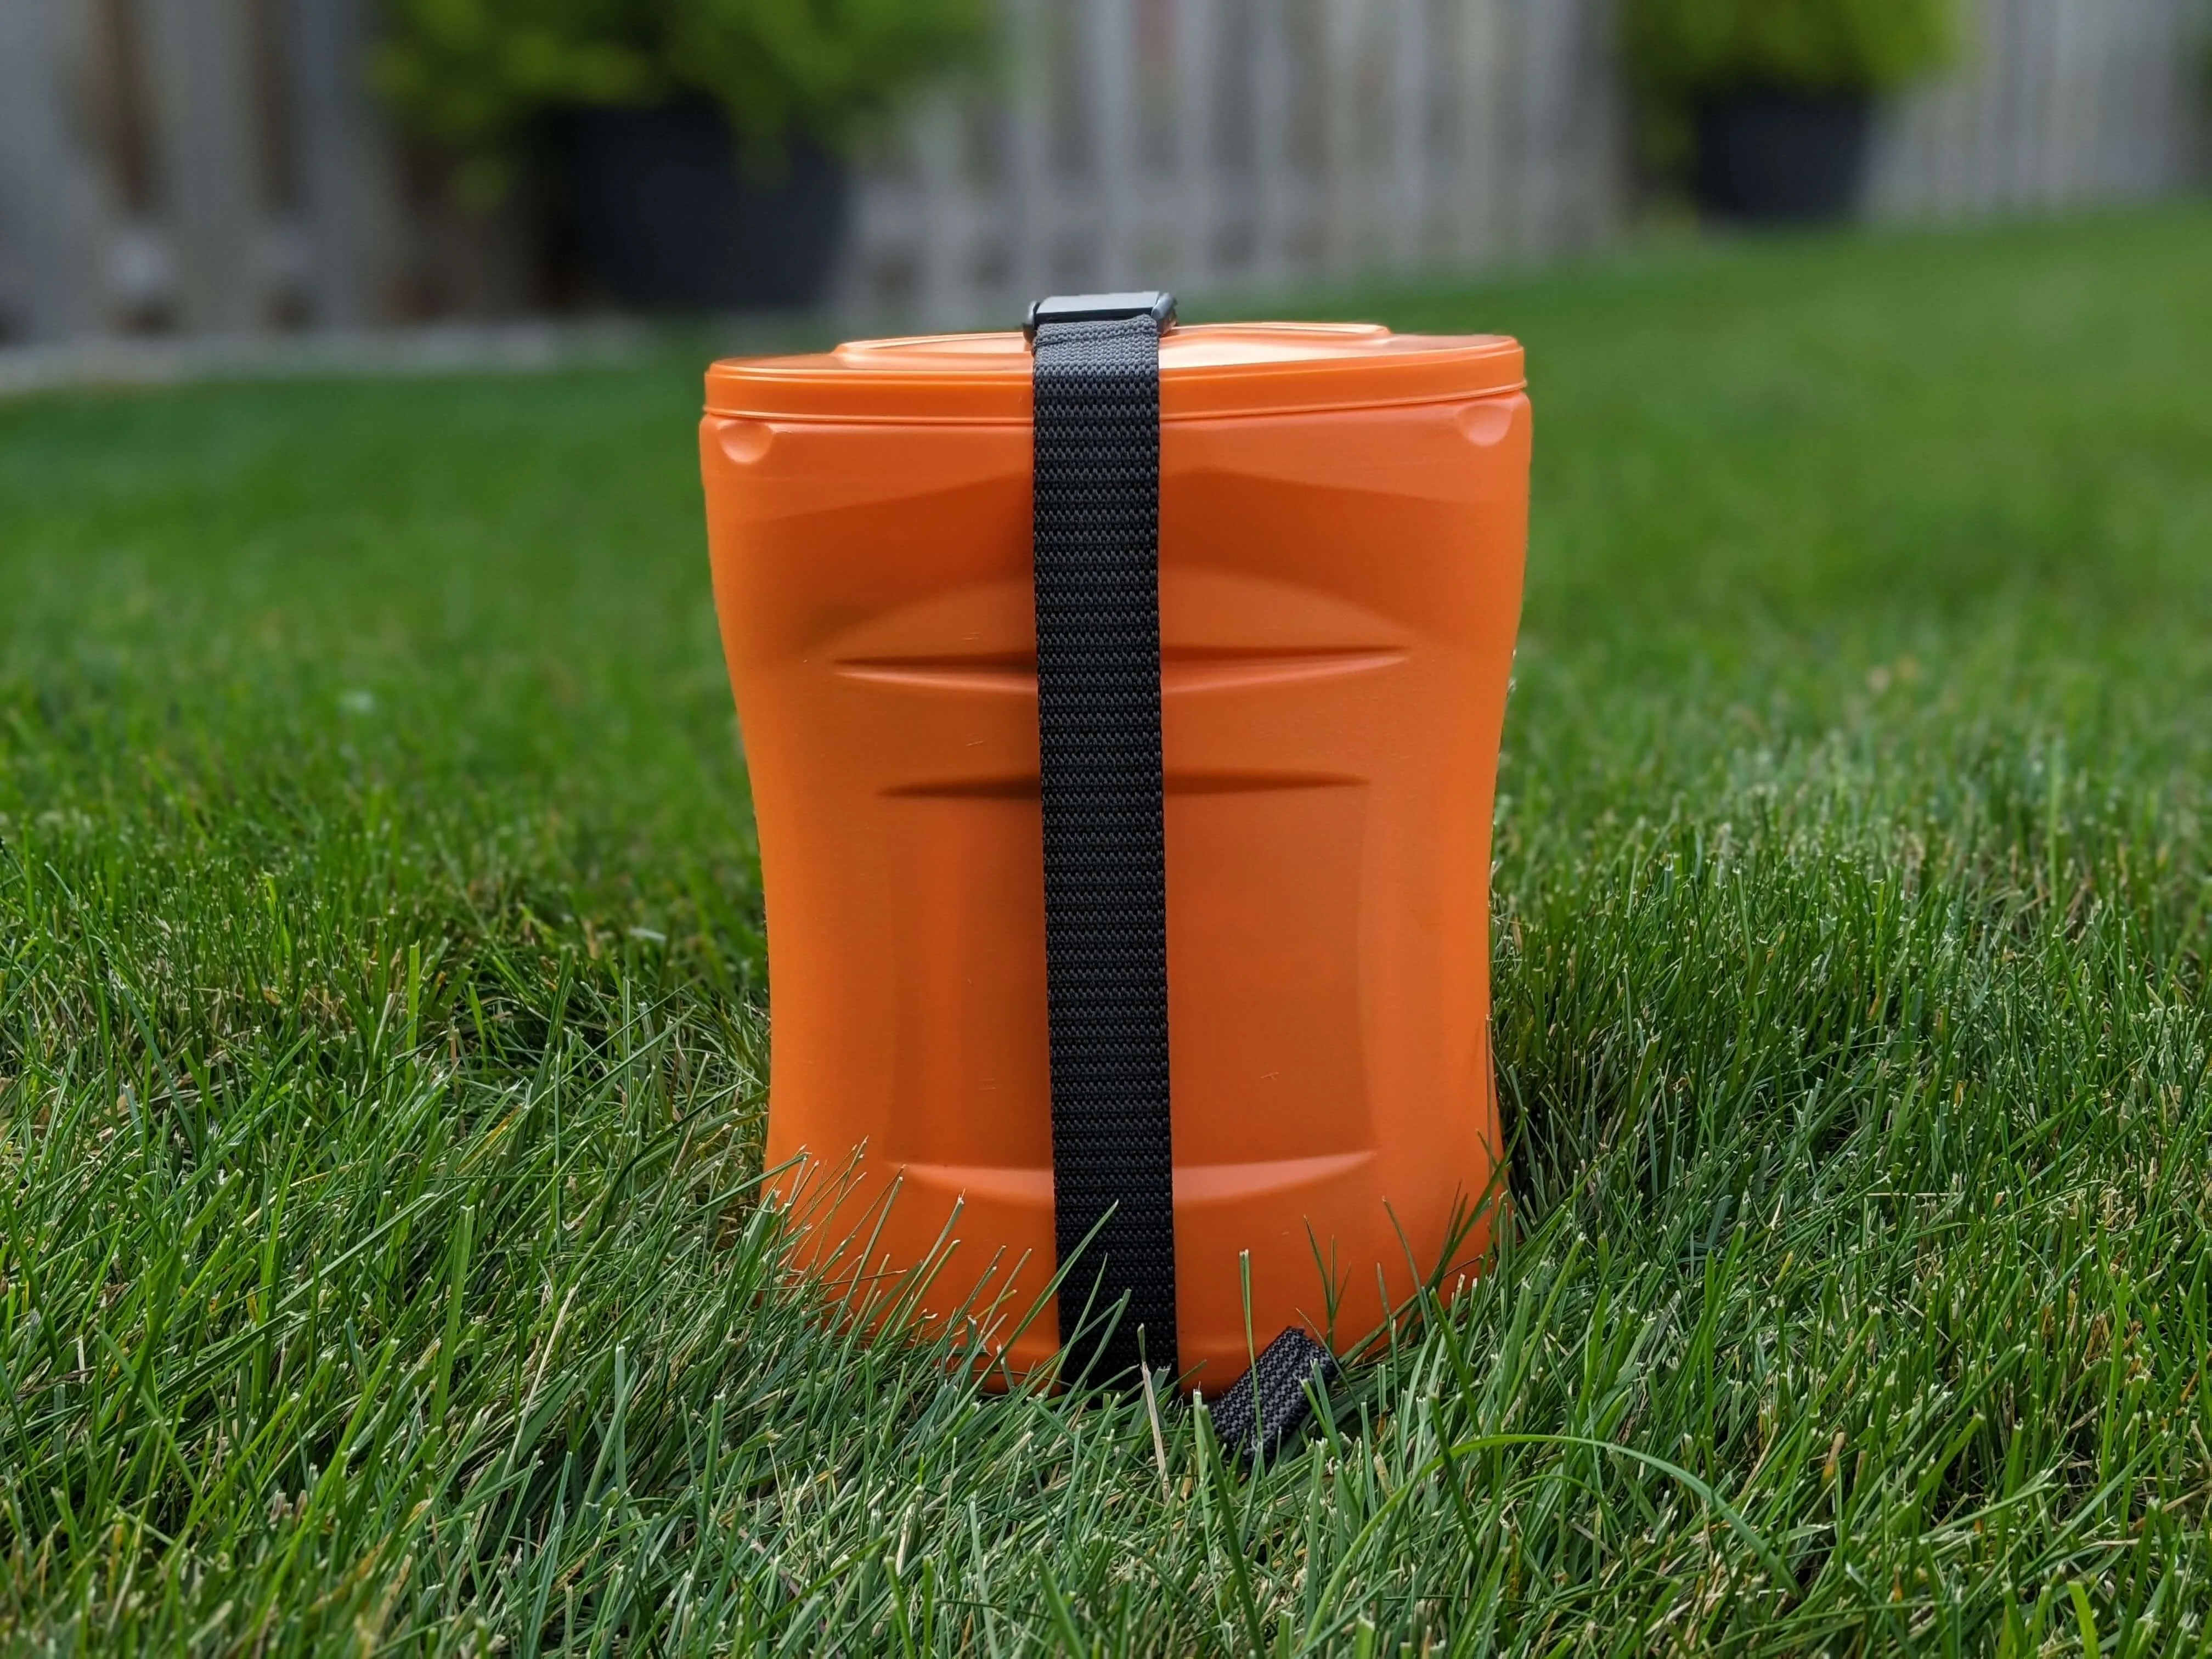
September is National Preparedness Month, and this week I just so happen to finish off a Costco sized container of Dunkin’ Donuts coffee so I decided to make a coffee can survival kit. This is an almost perfect vessel for a survival kit, since it is safety orange, made of semi-durable plastic, and is a tall container that is still slim enough to fit in a backpack or storage compartment.

Sometimes it’s fun to pick a simple constraint, such as the vessel for your survival kit, and adapt your solution to fit within it. I’ve seen some really cool survival kits stored in Altoid tins, which can be carried easily in your pocket. There are plenty of store bought survival kits on the market that would do just fine, but what’s the fun in that?

Everything I put into this container is something I already had from various survival and roadside emergency kits I’ve put together over the past 20 years. In 2006 I started getting serious about always having a survival kit in my car after James Kim, a CNET editor I followed at the time, died of hypothermia after his car got stuck on a road that was supposed to be closed. The story is really sad and involved James and his entire family being stranded for more than week before he eventually ventured out for help, never returning. Since then, I’ve created a few different versions of survival kits that always stay in both mine and my wife’s cars. I’ve gradually swapped out things that I realized are very unlikely to get used (zombie apocalypse machete?) for things that I’ve found myself needing in less than life-threatening situations (batteries and diapers). As unlikely as they are to be used, I still always try to have a few things that are for “worst case” scenarios in my kit, hoping that they never actually need to be used.
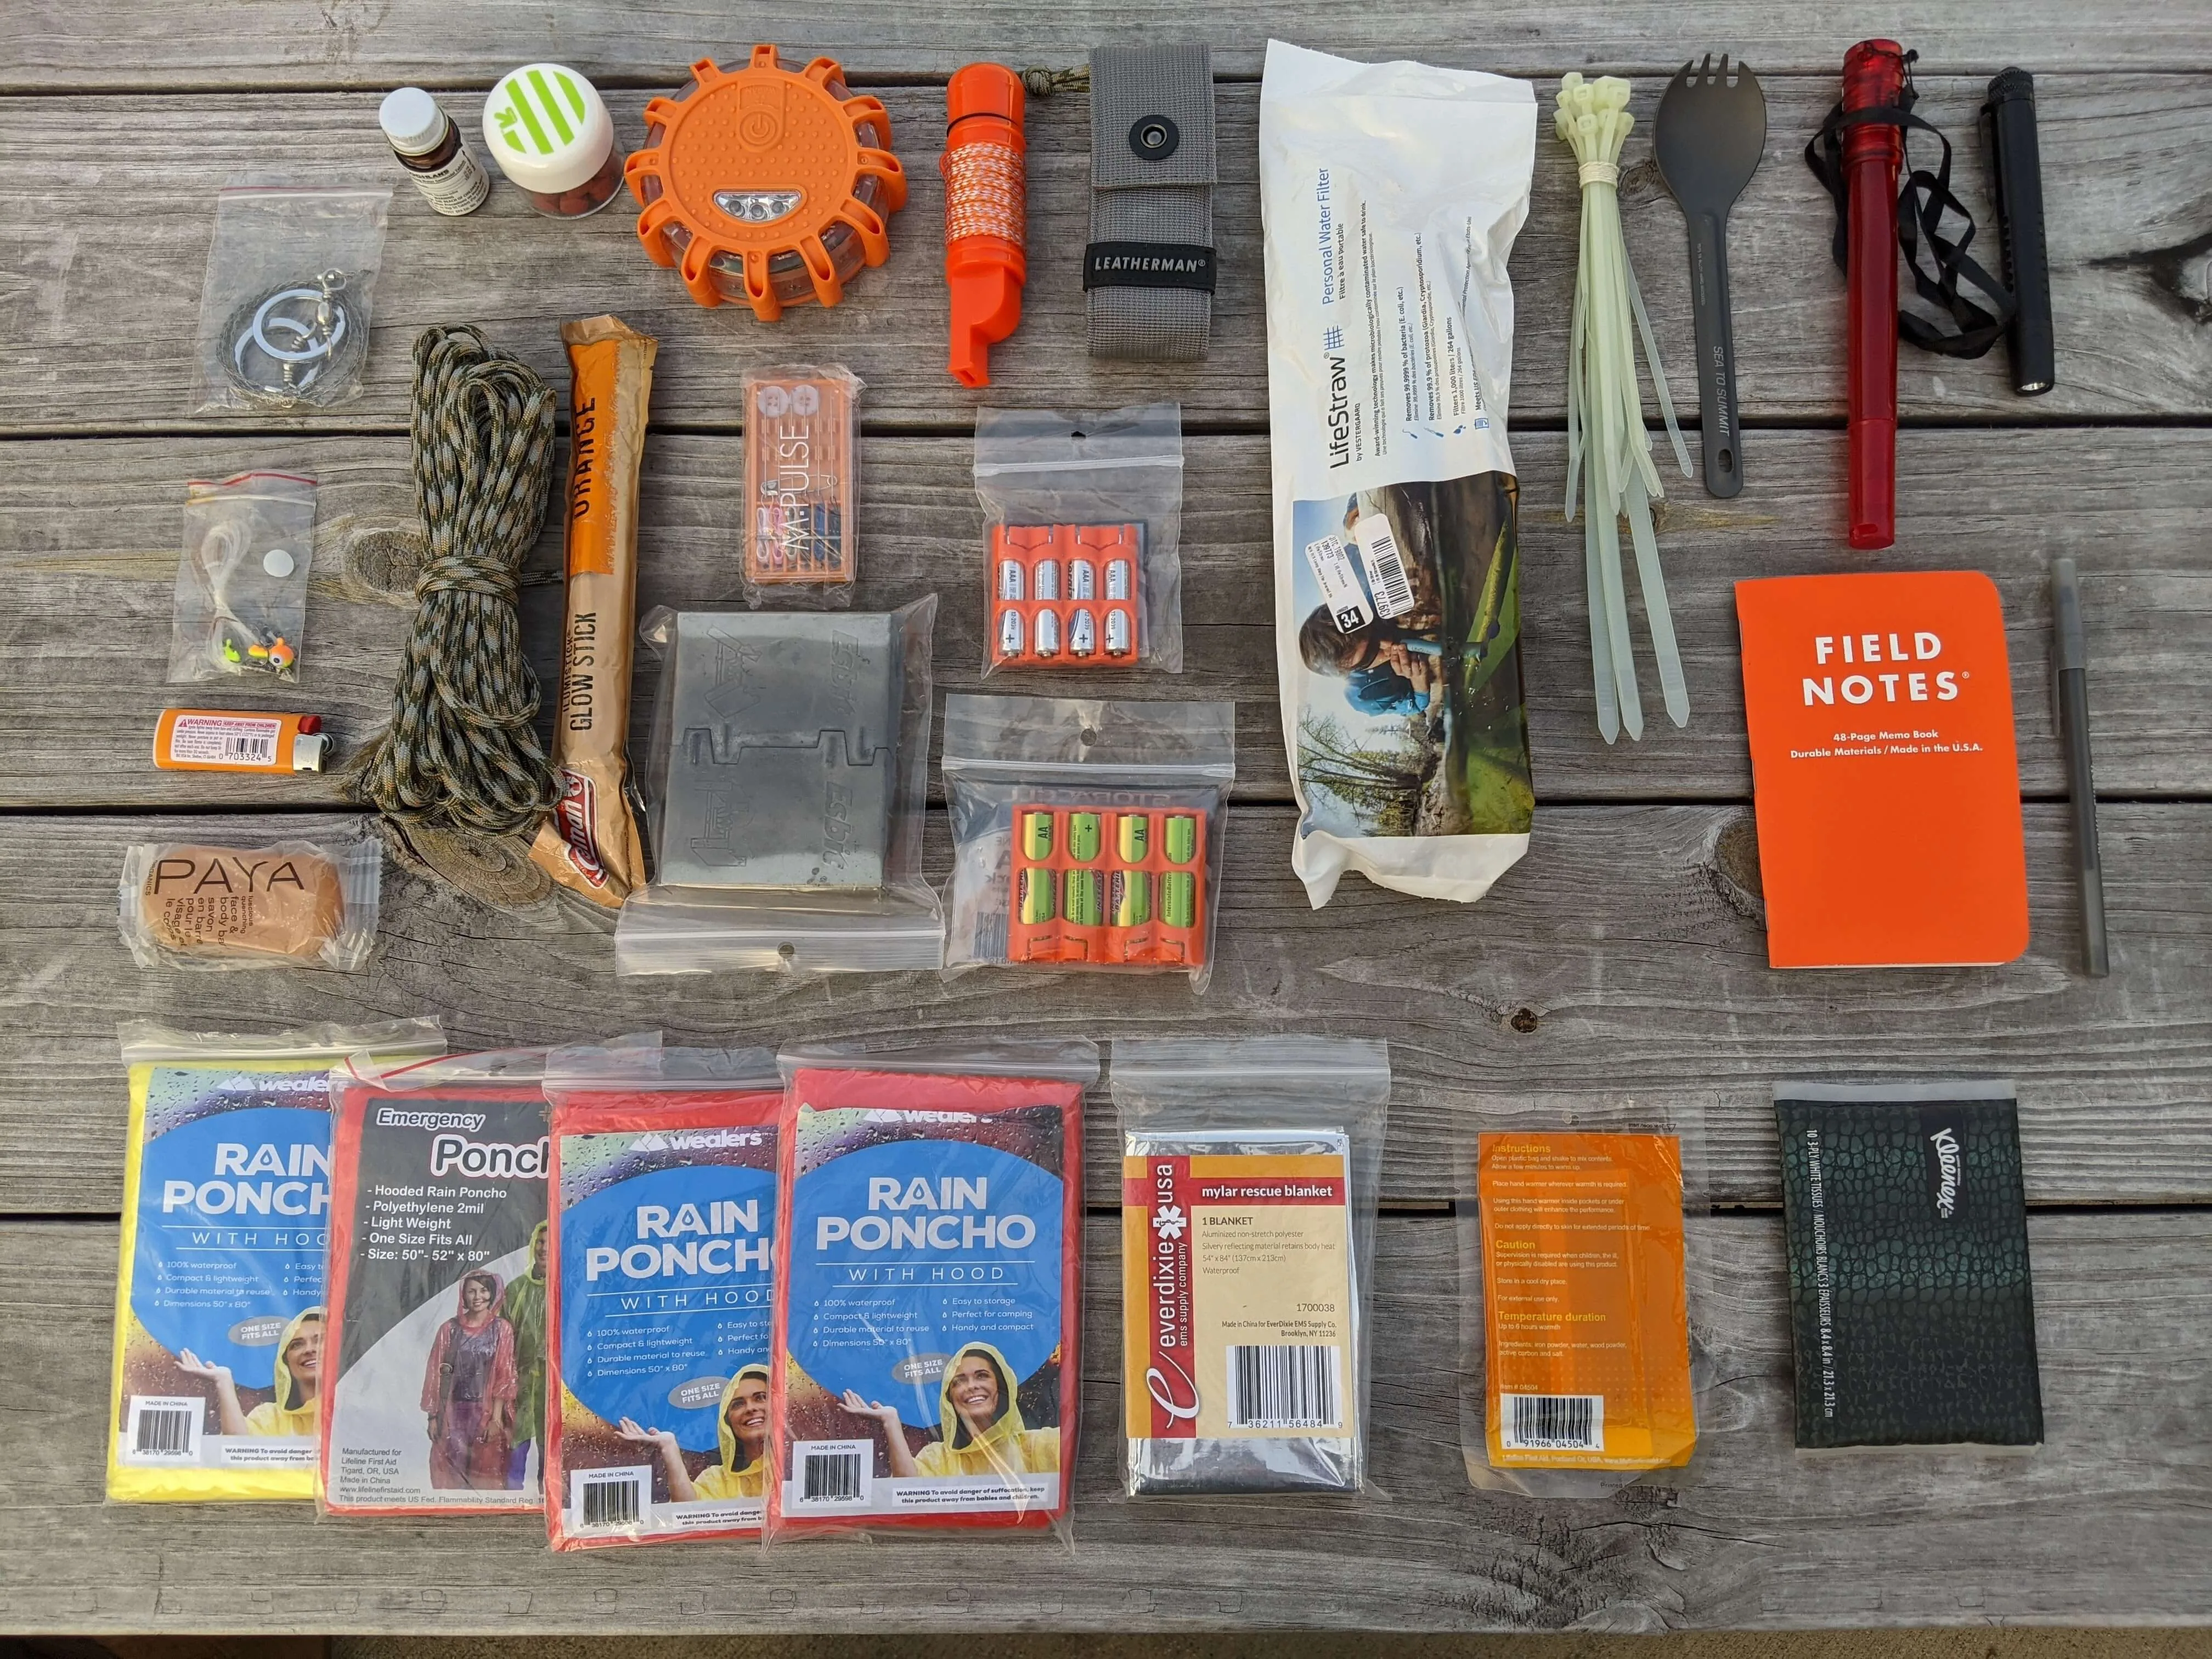
Here is a list of the things that I am currently keeping my survival kit, in no particular order:
- A GOOD multitool. Have you seen the movie 127 hours? Don’t go cheap on this. I recommend anything Leatherman because I have one that was passed down to me from my dad that still was covered under warranty after 24 years. The one I put in this kit is the Leatherman Wave, which has become the standard for multitools.
- Camping knife. A fixed blade knife is good to have on hand for a variety of situations, and I’m using an inexpensive but quality one by a Swedish company called Mora Knives.
- Folding camp stove. This is good for boiling water, and the fuel tabs can also help start a larger fire.
- Stainless steel cup.
- Waterproof matches and a disposable lighter. Starting a fire with sticks is hard and takes a lot of energy. A lighter is also something you will likely use in non-emergency situations, such as lighting birthday cake candles. Avoid Zippo style lighters, as the fuel will dry out during storage.
- Whistle, signal mirror, compass combo. These are cheap and readily available at any department store. They also can hold your matches, but just make sure you cut the striking pad off of the box and store it the container. Unfortunately you can’t ignite matches off the bottom of your shoe like in the cartoons.
- Glow sticks. These are great to throw on the road if you’re broken down. To keep them fresh I give them to the kids on the 4th of July and buy new ones every year.
- LED glow stick. In case the other one doesn’t work.
- First aid kit. I’m using a store-bought kit, and have likely under invested here. I have what I think would be needed to hold me over until lifesaving support arrives, but will probably add to this in the future.
- Space blanket.
- Hard warmer.
- Flashlight. Use lithium batteries in your flashlight. Alkaline batteries will leak, and rechargeable batteries will drain. Lithium batteries have a very long shelf life.
- Extra Batteries. Same as above, use lithium batteries, and keep a few different sizes based on what you have in your kit that needs them.
- LED Road Flare. These are great to draw attention to your car if you’re stuck on the side of the road, especially on the freeway. It’s a good idea to test it every so often just to make sure that the batteries haven’t been drained.
- Rain Ponchos. Keep enough for the whole family.
- N95 Masks. Keep enough for the whole family. These have always been a part of my kit because of something that I read a long time ago, so I was happy to have a supply at the start of the pandemic. I’ve recently needed to break into my kit just because I forgot my mask at home when going to the grocery store.
- Sewing Kit. I use one that I picked up from a hotel.
- Bar of soap. Probably from the same hotel I took the sewing kit from.
- Spork. Pretty sure I got this while checking out at Eddie Bauer.
- Water Purification Tablets. Camping isle at Target.
- Tissue.
- Parachute Cord. I have gone into my kit for this more than anything else. It’s great for tieing down oversized loads, bundling things, and creating lanyards.
- Filter straw. I’ve never taken this thing out of the package, but can imagine if I ever need it I will be glad I have it.
- Zip ties.
- Pain reliever. Make sure to rotate this ever couple years.
- Pull saw. My multitool has a saw on it, but this would be good if you needed to saw a larger branch in a survival situation.
- Fishing kit.
- Notebook and pen. Write down your inventory on the first page, and then record any information you would need in a pinch if you had to evacuate your home because of a fire or natural disaster.

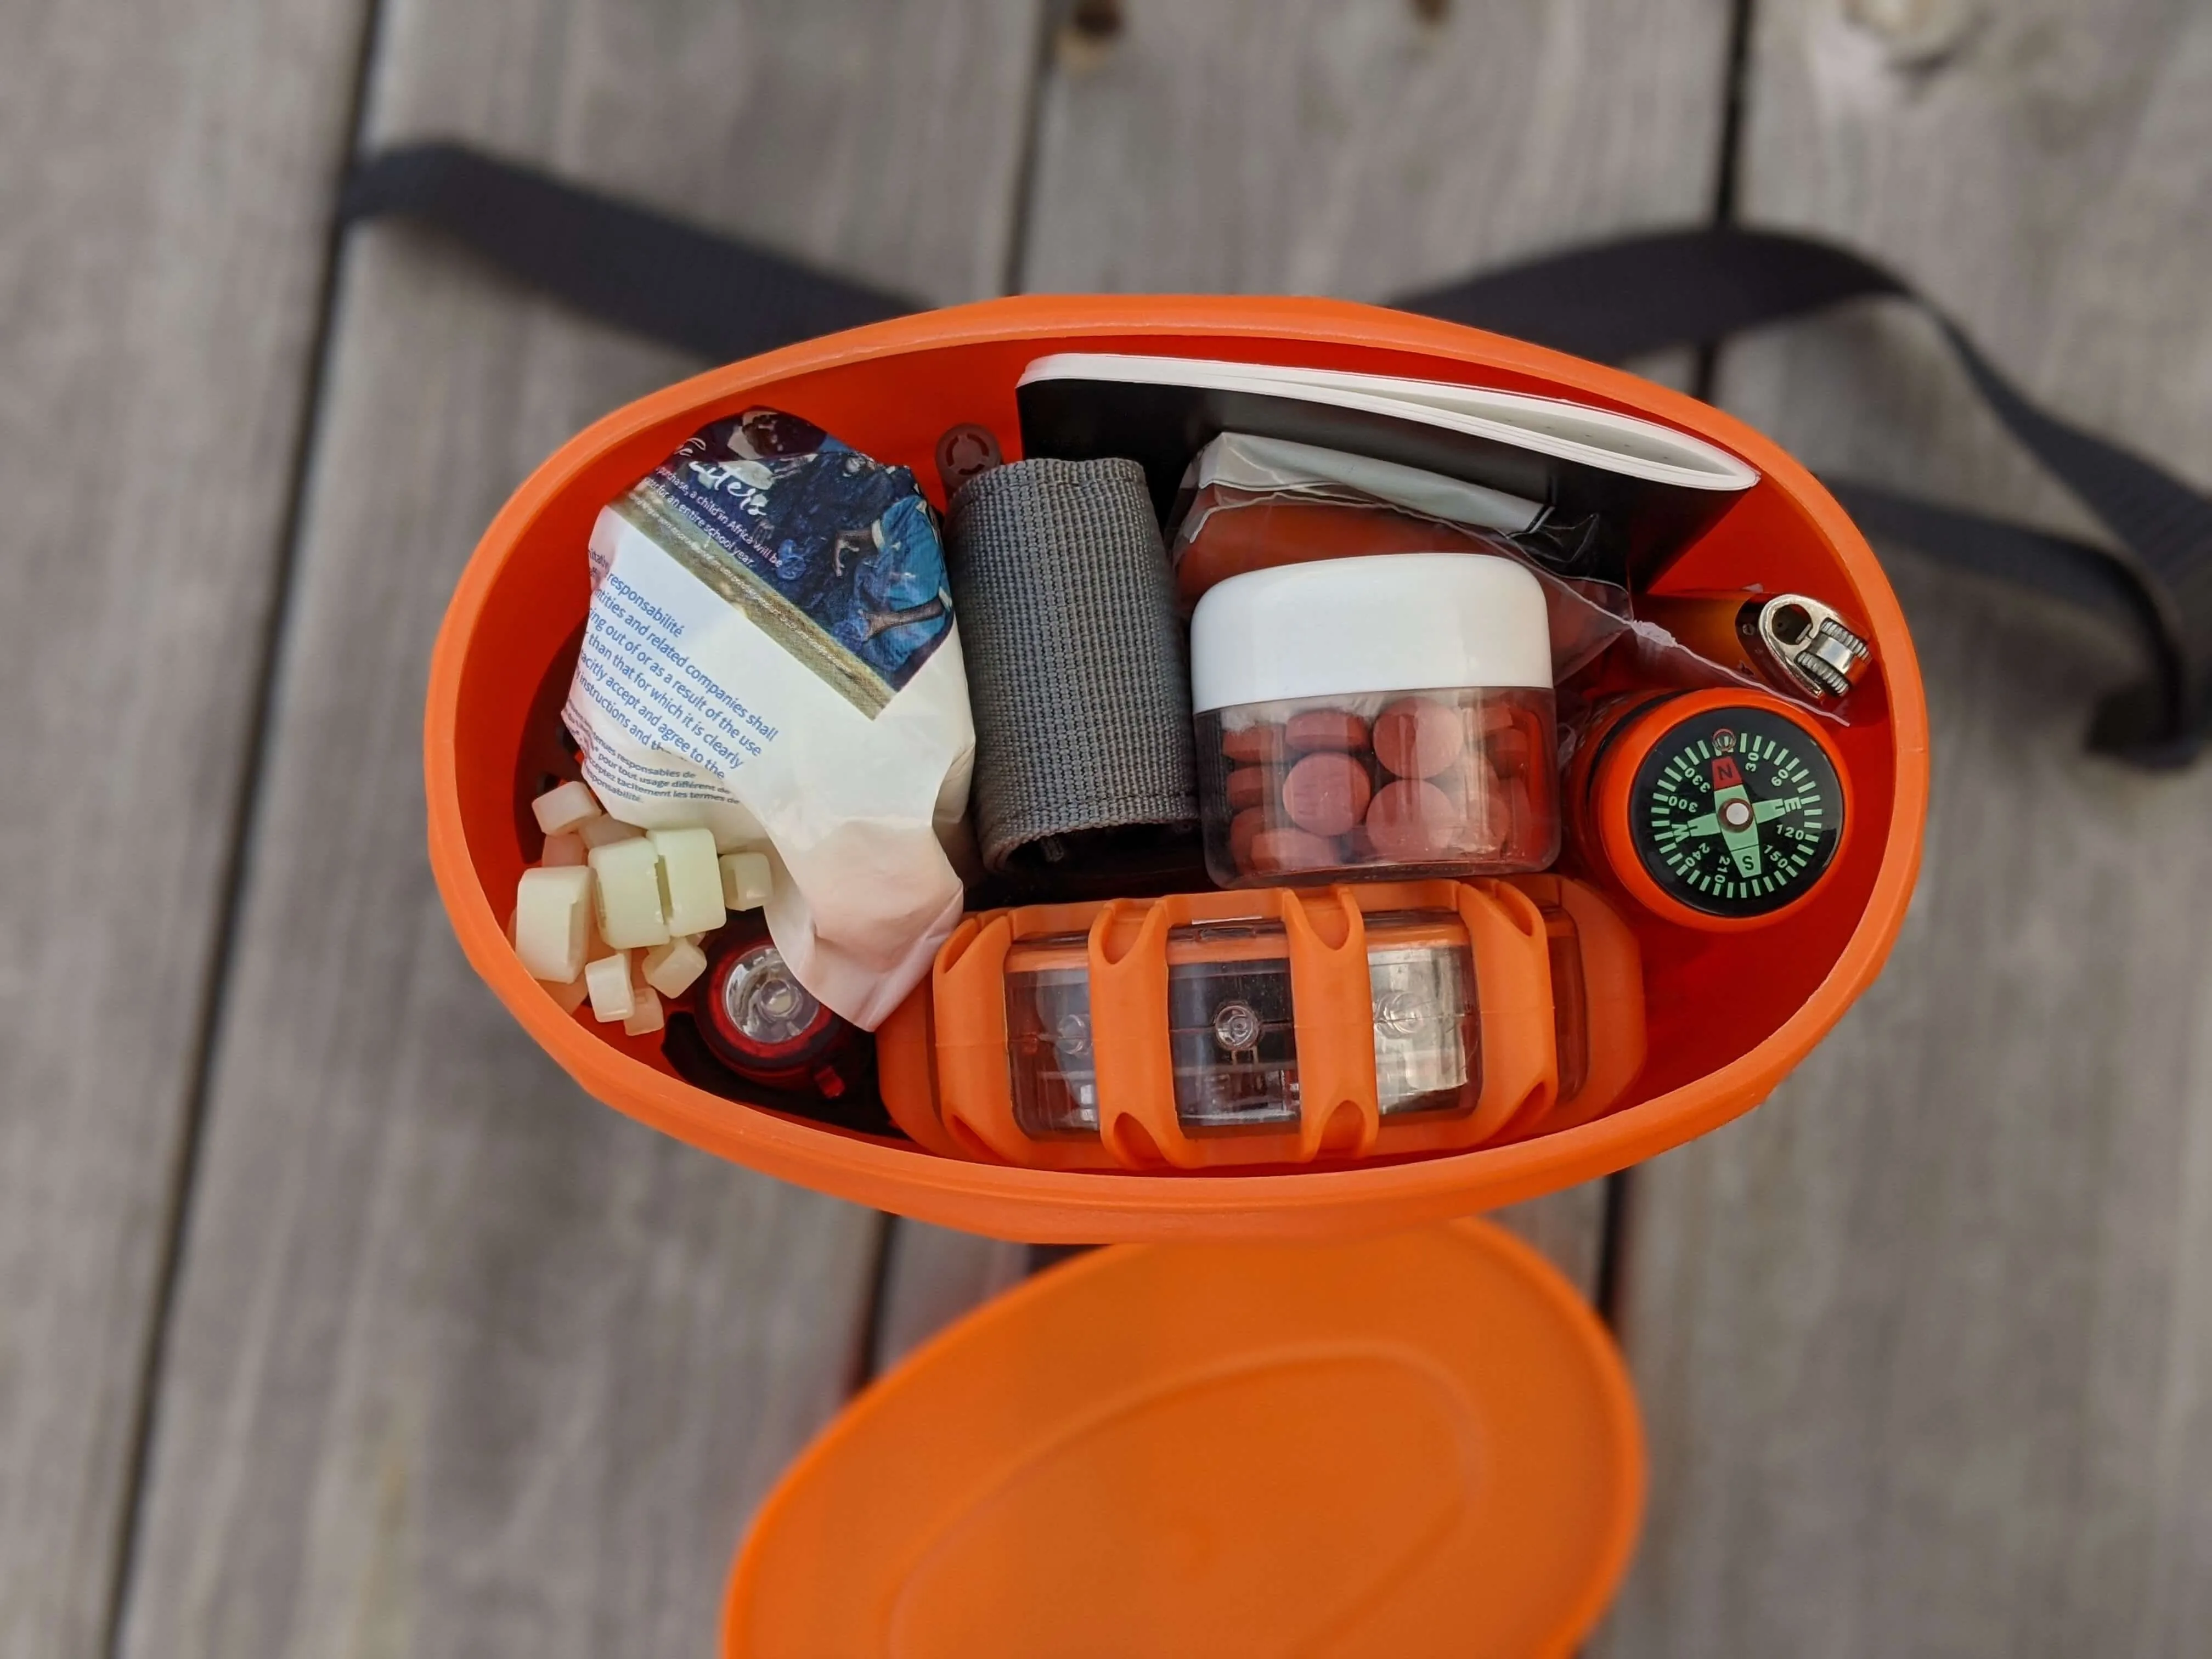
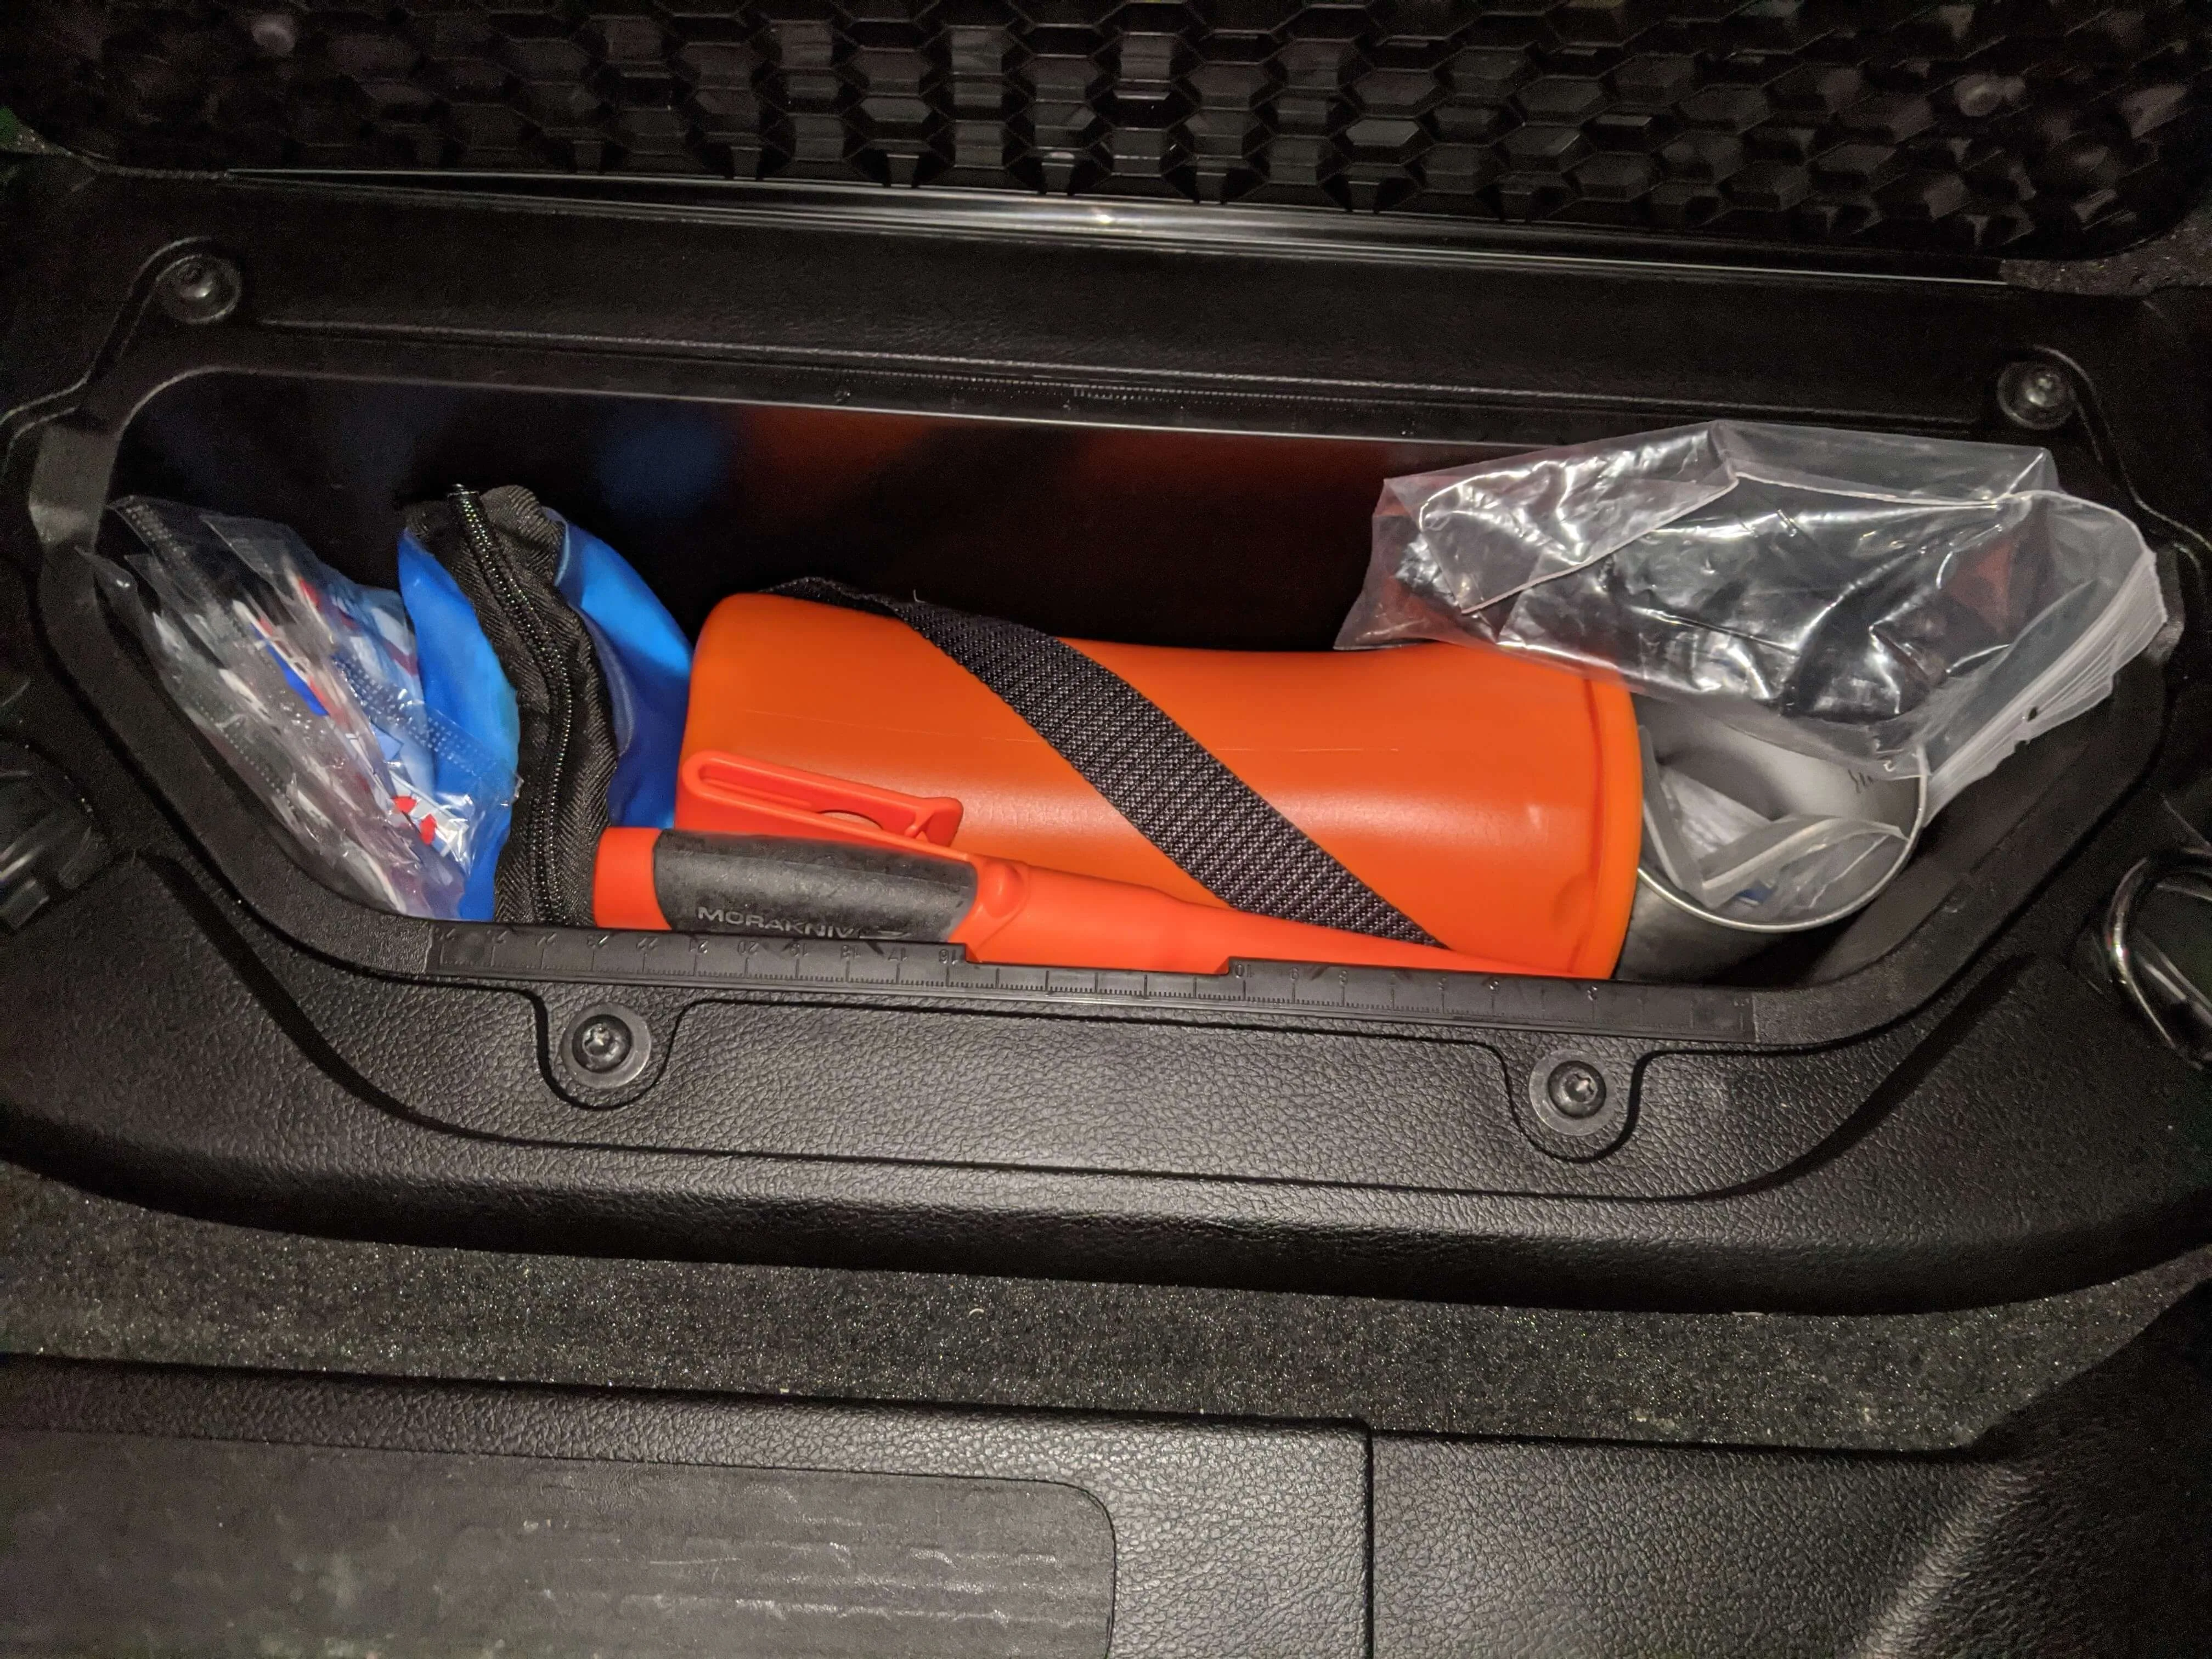
I was able to fit all of this into the coffee tin with the exception of the first aid kit, camping knife, steel cup, and N95 masks. These items can all be easily stored next to the kit. Even if it could fit in the coffee tin, it is probably a good idea to keep the camping knife separate so that you can easily remove it if you’re traveling somewhere that has restrictions on that kind of stuff. Once the kit was complete, everything fit cleanly into the floor storage compartment of my Dodge Ram leaving plenty of room for other things I may want to add later.

After building a kit, make sure to revisit it every now and then to keep supplies fresh and iterate based on new things you learn. For instance, after walking my wife’s bike home for 3 miles this past summer, I added a pump and innertube to my bike emergency kit which I always take on long rides.
Now that you’ve seen what’s in my kit, take some time during National Preparedness Month to think through how prepared you are for an emergency situation on the road, at home, or even on a bike ride. I recommend having multiple survival kits built for specific purposes, and keeping them where ever you will need them most. Have fun, and stay safe!